How to schedule an issue to go live
Requires https://zeen101.com/downloads/issuem-issue-scheduler/
1. Go to Articles > Issues in the WordPress admin.
2. Create a new issue.
3. Click on the name of the newly created issue.
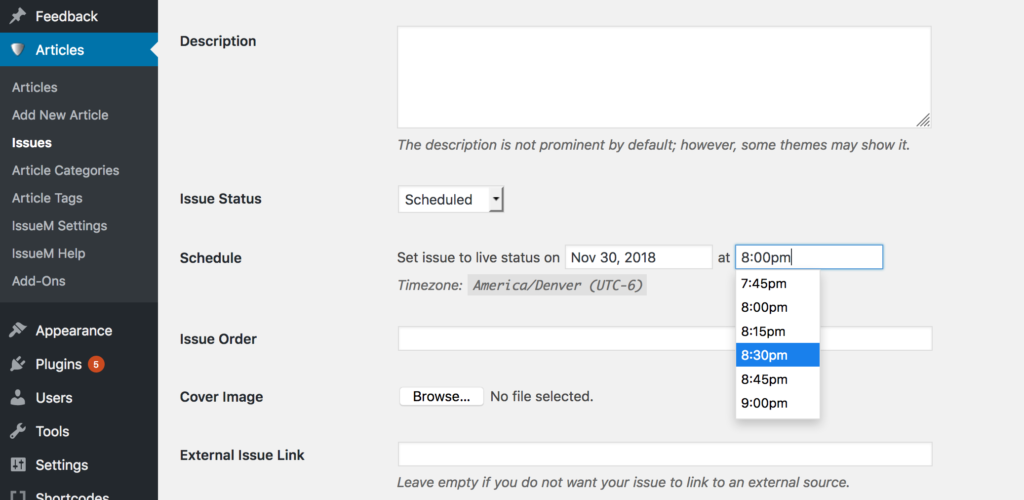
4. In the Issue settings, set the “Issue Status” to Scheduled.
5. This will display the “Schedule” setting. Select the day and time you would like the issue status to change to Live.
6. Click the blue “Update” button.
7. When the scheduled time comes, the issue status will automatically change from Scheduled to Live.
When an issue is in “Scheduled” status only logged in admins, editors, and authors will be able to view it. Users who are not logged in will not be able to view it.

