
How to add custom fields to a list in Flowletter
Custom fields let you store extra information about your subscribers, like their subscription level, interests or company. You can use custom fields to personalize your emails and to create segments.
1) Login to your portal.flowletter.io account.
2) Select "View all lists" and select your list.
3) Select "Custom fields" at the top of the list.

4) Under "Add a field", enter a "Field name" and choose a data type: "Text" or "Date".
5) Select "Add custom field".
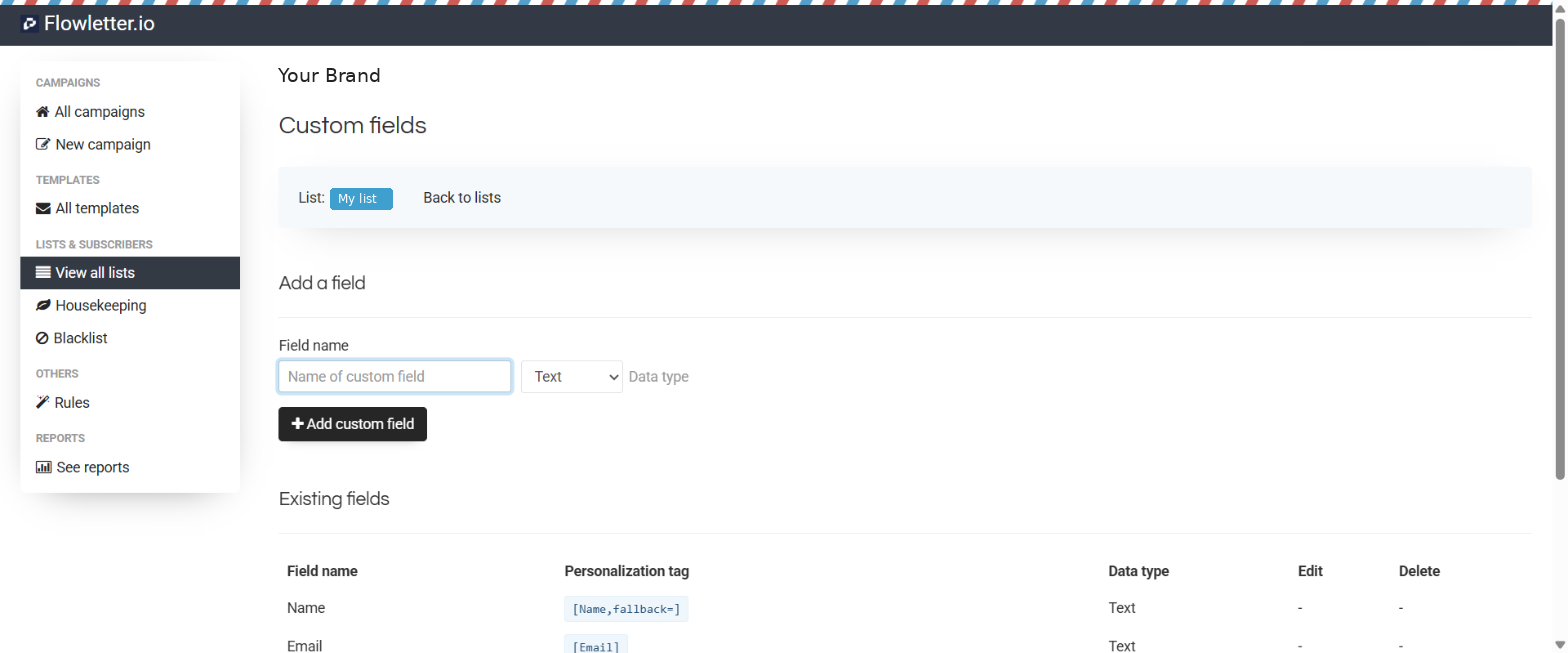
Your new field is shown under "Existing fields" with its personalization tag, for example [Plan,fallback=]. Name and Email are included on every list by default.
Using custom fields
- Importing: when you import a CSV, add a column for each custom field, in the same order as the fields in your list. See How to import a list to Flowletter.
- Subscribe forms: custom fields are added to your list's subscribe form automatically.
- Segments: custom fields show under "Custom fields" when you create a segment. See "How to create a segment in Flowletter".
- Personalization: add the field's tag to your email, for example "You're on the [Plan,fallback=free] plan". See "How to use personalization tags in Flowletter".