
How to create a segment in Flowletter
Segments let you send to part of a list instead of the whole list. For example, subscribers who have been active in the last 30 days, subscribers who signed up after a certain date, or subscribers with a certain value in a custom field. You can target a segment with a campaign or an autoresponder (drip campaign).
1) Login to your portal.flowletter.io account.
2) Select "View all lists" and select the list you'd like to segment.
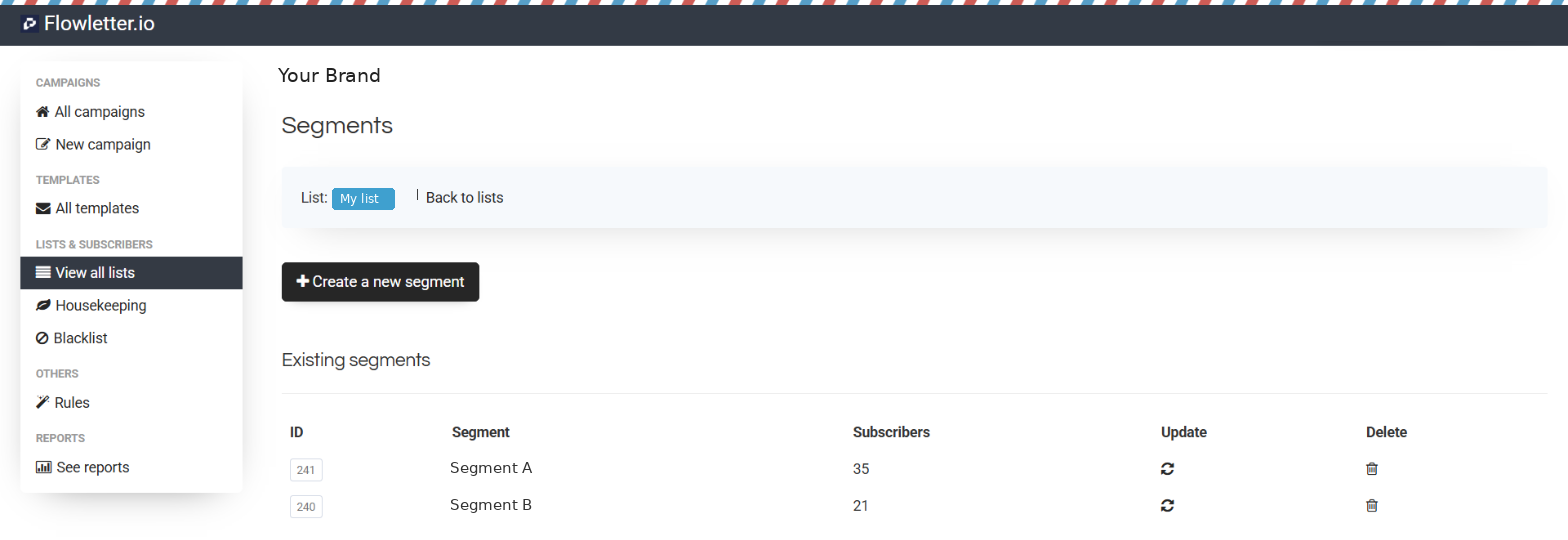
3) Select "Segments" at the top of the list.

4) Select "Create a new segment". Any segments you've already created for this list are shown under "Existing segments".
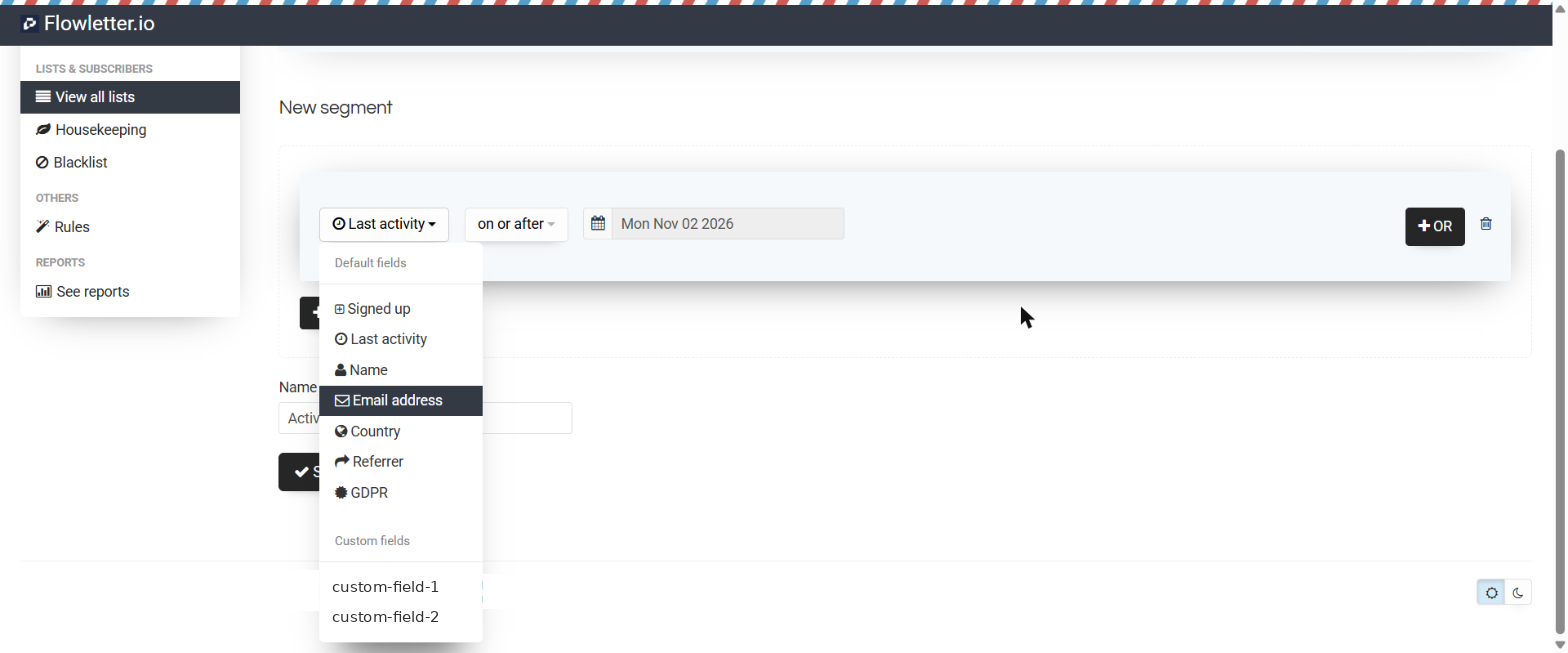
5) Select "Create a condition based on..." and choose a field. The default fields are Signed up, Last activity, Name, Email address, Country, Referrer and GDPR. If your list has custom fields, they will show under "Custom fields".
6) Choose how the field should match (for example "on or after" a date, or "is" a value) and enter the value.
7) To add more conditions, select "+ OR" or "+ AND".
- + OR - a subscriber is included if they match any of the conditions.
- + AND - a subscriber is only included if they match all of the conditions.
8) Name your segment. This is for internal reference only.
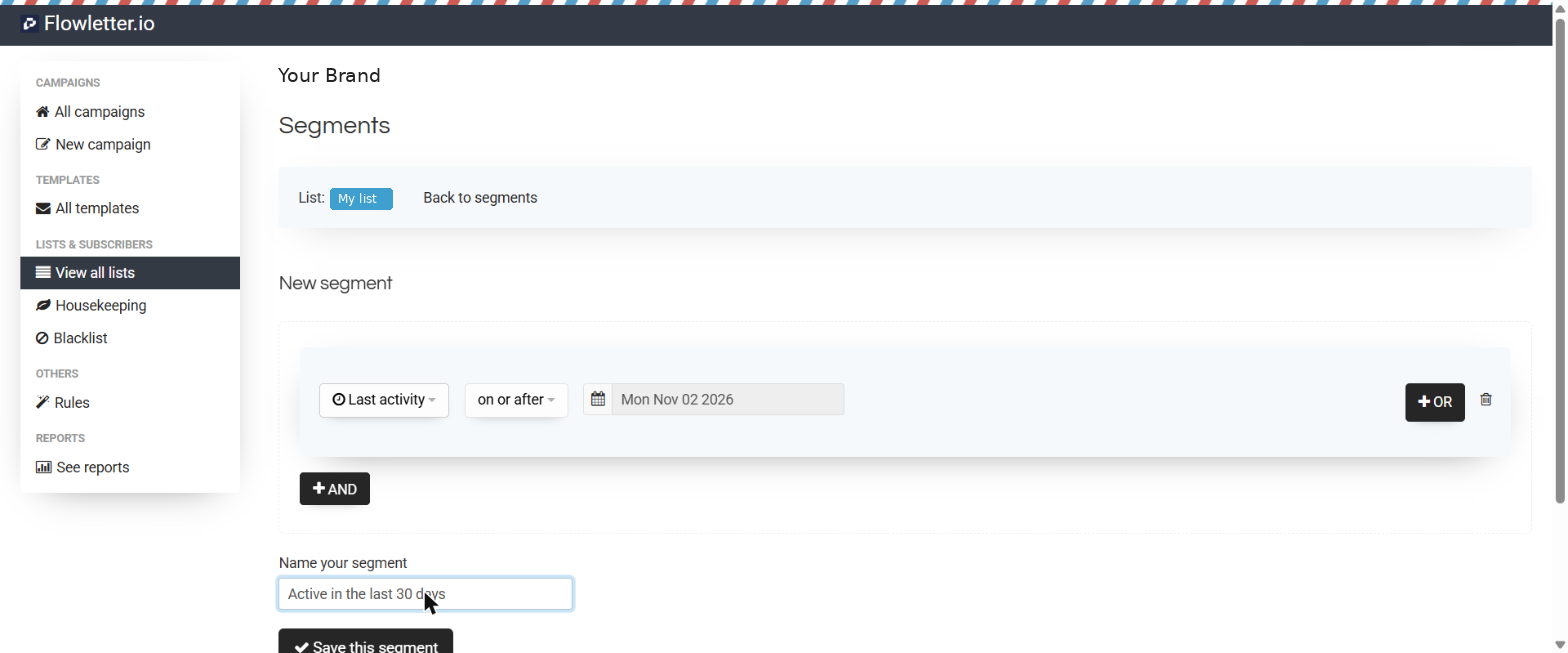
9) Select "Save this segment". Flowletter will show how many subscribers match. To refresh the count later, select the refresh icon under "Update" on the Segments page.
Using your segment
When you send a campaign from the Flowletter portal, your segments are listed under the list they belong to, so you can choose to send to the segment only.
When you create an autoresponder, you can choose which segments to target. See How to create a drip campaign with Flowletter.
Tip: "Last activity" is a good way to reach your most engaged readers. For example, "Last activity on or after" a date 30 days ago gives you everyone who has engaged with your emails in the last month.